

When my mom visits, I somehow always manage to talk her into helping me with projects. Whether it's painting walls, moving furniture, or this time painting furniture, she happily obliges. And I love her for that. Well I love her regardless, but she just makes it that much more easy to love her.
I have several pieces of furniture that my mom has given to me over the years. They are the prettiest pieces, but they are solid! And furniture isn't made solid anymore. The thought of getting rid of them or selling them made me ill. But the thought of having to move them outside, sand them, paint them, and wait for them to dry, AND move them back in made me even more ill. So for that reason, they have sat in my house, untouched, hurting my eyes.
I have been really interested in trying out Annie Sloan Chalk Paint. Everyone made it sound so easy that I was almost hesitant. Surely, I would mess it up. But I took the plunge and went to town on my dining room table and chairs as well as my guest bed.
We have lived in our house for over a year now, and I feel like I am just not getting around to making it our own. We have a long way to go, but this was a good start.
Just some quick info on the paint and other products. I was initially shocked at how much it was going to cost me to buy everything I needed. But then, I remembered how much time and energy I was saving to not have to move furniture outside to stand and prime, and then it was all worth it ;) The paint itself costs about $28 for a quart. And just an FYI, I used ONE quart for the dining room table, all six chairs, and a queen size headboard and foot board. It goes a long way!!! I painted only one coat on each piece. In hindsight, it probably could have used two. But it does cover very well. The paints dries rather quickly, and once it has, its ready for the waxing part. This is what terrified me. I am not 100% satisfied with the way it all turned out, but it was fun to experiment and learn what I would do differently next time.
Back to the waxing... You need to buy both the clear wax and the dark wax. These also run just under $30 each. I also chose to buy an Annie Sloan brush to apply the dark wax with, and I have no regrets about it. Everyone I talked to who has used this, told me to use the dark wax first and follow it with the clear. Next time I attempt another project, I will probably reverse the order and use clear then dark and then clear again. This is why.. The more clear you use the more control you have over how dark your piece becomes. My pieces ended up much darker than I had anticipated, and the pictures following make it look that much darker. What I did was apply the dark wax with my Annie Sloan brush first. You are supposed to hold the brush with a closed fist, as if you were going to bang on a door with the pinky side of your hand. You can apply the wax in whatever manner you choose. I did some circular motions and just a basic brushing. Once I applied the dark, I rubbed the clear wax over it to remove it. The clear wax basically acts as an eraser. However, I think I waited to long in between and the table really absorbed quite a bit of the dark wax.
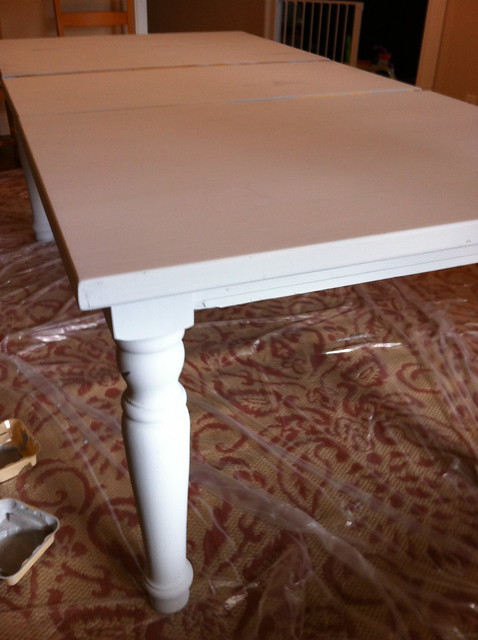
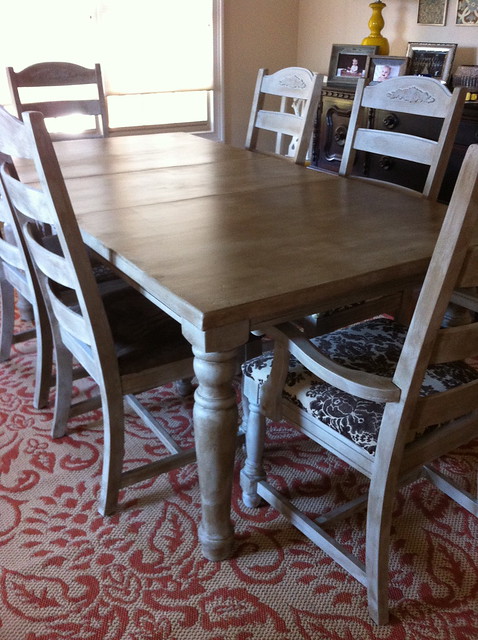
{right after painting. it really does have a "chalky' feel and look}
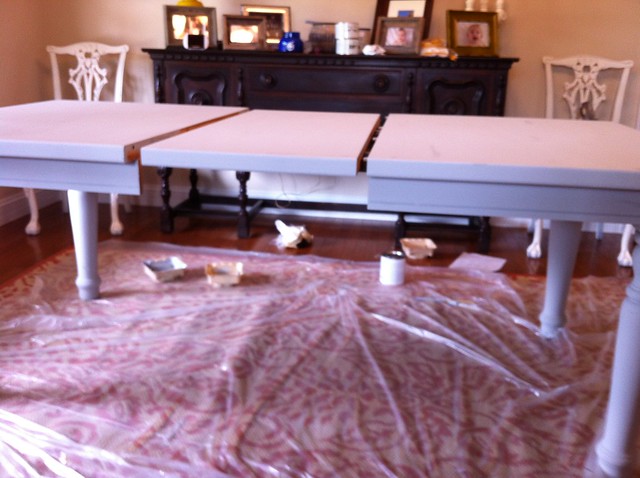
{right after painting}
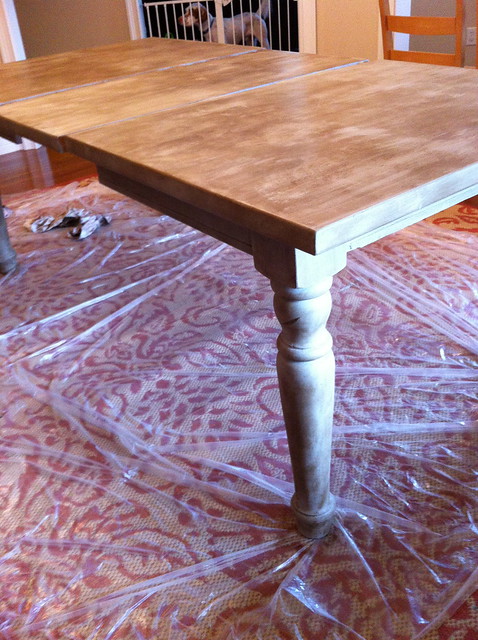
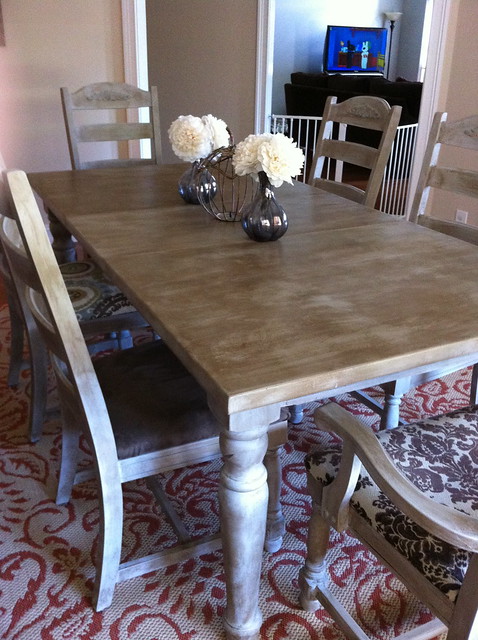
{after both waxes}
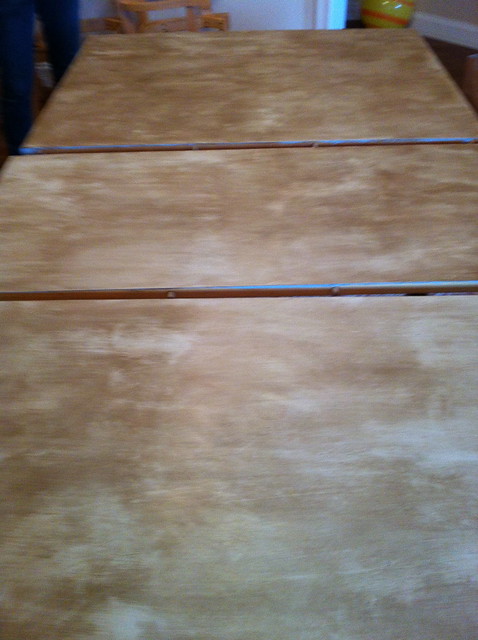
{it's really not this dark in person}
{all finished}
{ready to go}
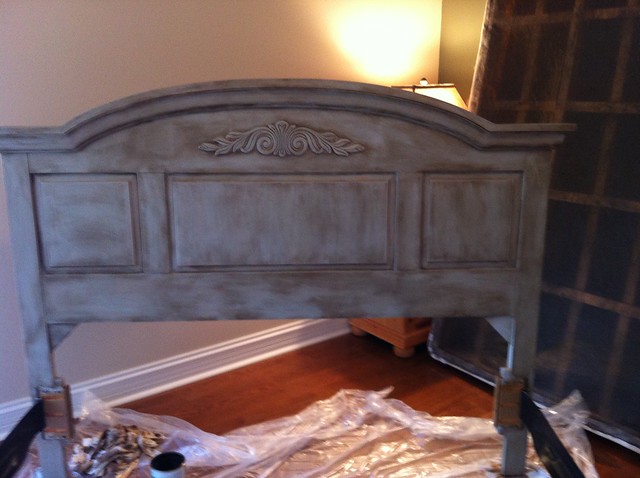
{before clear waxing}
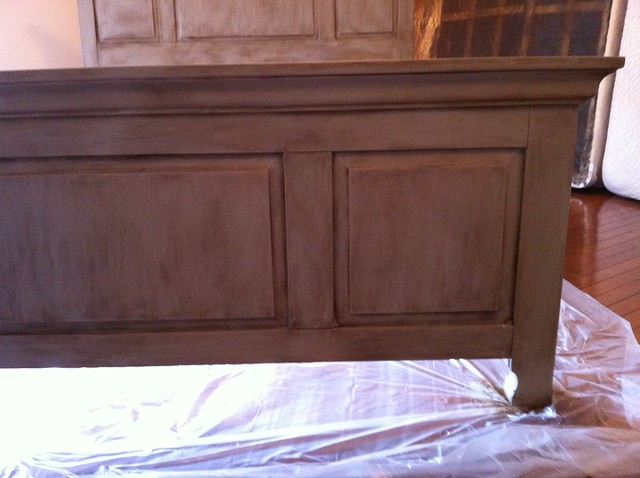
{foot board}
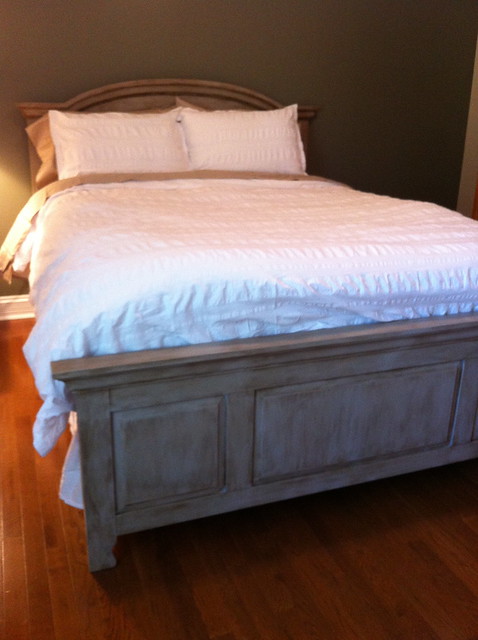
{finished product - now all i need to do is paint the room :) }
My laundry list of house projects is now just a tad bit shorter. I'll do my best to track the progress and keep you posted.


No comments:
Post a Comment